Cuckoo Buds 3 Column

Showing posts with label tutorials. Show all posts

Saturday, June 9, 2012

Honey, I'm Home! What's For Dinner?

Oh my gosh, got home too late last night for dinner.  Had a light bite to eat and then laid down for a bit and I was out like a light!  This morning I didn't wake up until 11:20 am - can you believe it!!??  No little arms or legs flopping all over me all night, all cozy in my nice bed.  How is it our bodies know when we're home?  I don't know, but mine knew last night and I slept like a rock!!

Friday, Karla got the children up early and they all went to Yosemite with family from out of town ~
Leila with Mrs. Whiskers and a dog  are ready to go!
And Elise putting a tail on her animal cap!
Big smile and a nap on the road for our Isaac!
I'm sure they had a lovely day, home with mom later, before off the next day for a bid weekend in SoCal at the Amusement Parks! Lovely to entertain!

What's that I hear???  Drat - no little voices, no needing drinks or dinner, sure do miss them after we leave each others company.  But, I'm home with my Sweetie, and we keep each other company.  The best thing??  I'll be back with them when mom and dad go on vacation and stay with them for two weeks!

Thank you all for your comments regarding Jill's Sneaky Momma's tutorial blog!  She's great.  I know we have many friends that have tutorials, and we thank all of you too.  But, this gal has really taken a lot of time organizing and putting up tutorials for those of us who (hate to say it this way) are like beginning, beginners!  That's me.  And, from some of the comments I've gotten, some of my friends have enjoyed the plain English and the pictorial images she uses.

Bought more plants today - oh yeah - more gardening!  And, we followed the instructions on mixing to soil additives for the plants in the ground we planted the last couple of weeks from a gardening expert at the Nursery, only to find it's burning them and we need to dig them up yet one more time - three times now - so this should do it, don't you think!?  So, that's our Sunday!  Hope you all had a happy Saturday and enjoy the day tomorrow!

Hugs to you all,
Donna

Friday, June 8, 2012

Introducing Sneaky Momma Blog Design!

Happy Friday everyone!  I'm glad the weekend is here and I'll be home.  I love spending time with my Wee Ones and their parents, but this was a bit of a whirlwind trip.  My next trip should be a lot more relaxing, but twice as long,  My Sweetie will join me for a few days, too.  That will help it feel as though it's not as long.  Sure do miss my Sweetie when I'm gone.

I found someone special the other day in blogland.  Jill at Sneaky Momma Blog Design!  I'd love for you to stop by and see what she has for us.  Not all of us, because I know some of us (me not of course) are computer whiz's and can navigate and fix things pretty well all on our own.  So, this is more for the ones like me who need a bit, or a lot, of help.  The thing I love - Jill tells you how to do things in everyday plain, simple and easy to understand directions.

Followers are those that we strive for in numbers.  But what happens when there's one we really would prefer never found us.  What do we do?  Well I asked, and got several responses that were not really what I wanted to do.  I did a Google search of all things and up she popped.  Thank goodness!

Jill has easy to follow along tutorials, showing us step by step with screen shots of how to fix our problems - zip, boom, bang, done!!  Less the 5 minutes I WAS DONE!!  ME - THE COMPUTER UN-NERD!! 

Why not stop by and see what she has to offer before you need something and just say hi!  Her blog is filled with tons and tons of information for us.  And, honestly Ladies, many of you know me, if I can follow her easy instructions and get what I need taken care of on my blog - think of what you might be able to do with her tips and tutorials - EASY tutorials!  Yes indeed!

Blessings and I wish you all a wonderful weekend!!

Blessings,
Donna

Sunday, March 18, 2012

Unusual Items To Re-purpose For Cards and Scrapbooks

I try to 'repurpose' as many items as possible.  Re-purposing is a fancy way to say "Recycling" but we don't have to use government standards to label items . . . yet.

I've shown in a few of my cards, scrapbooks and albums, my pocket pouches I use to put tags for journaling, photos or just pretty tags inside.  This is not my original idea, I don't know who's it is, but it's great and has been around for many years.  First saw it about 10 years ago.  It's a perfect size, easy to cover and decorate, and FREE - so can't beat that!  Last week when I posted my Anniversary Book for friends I had a couple of requests to explain how to do this - so here are the easy peasy directions.


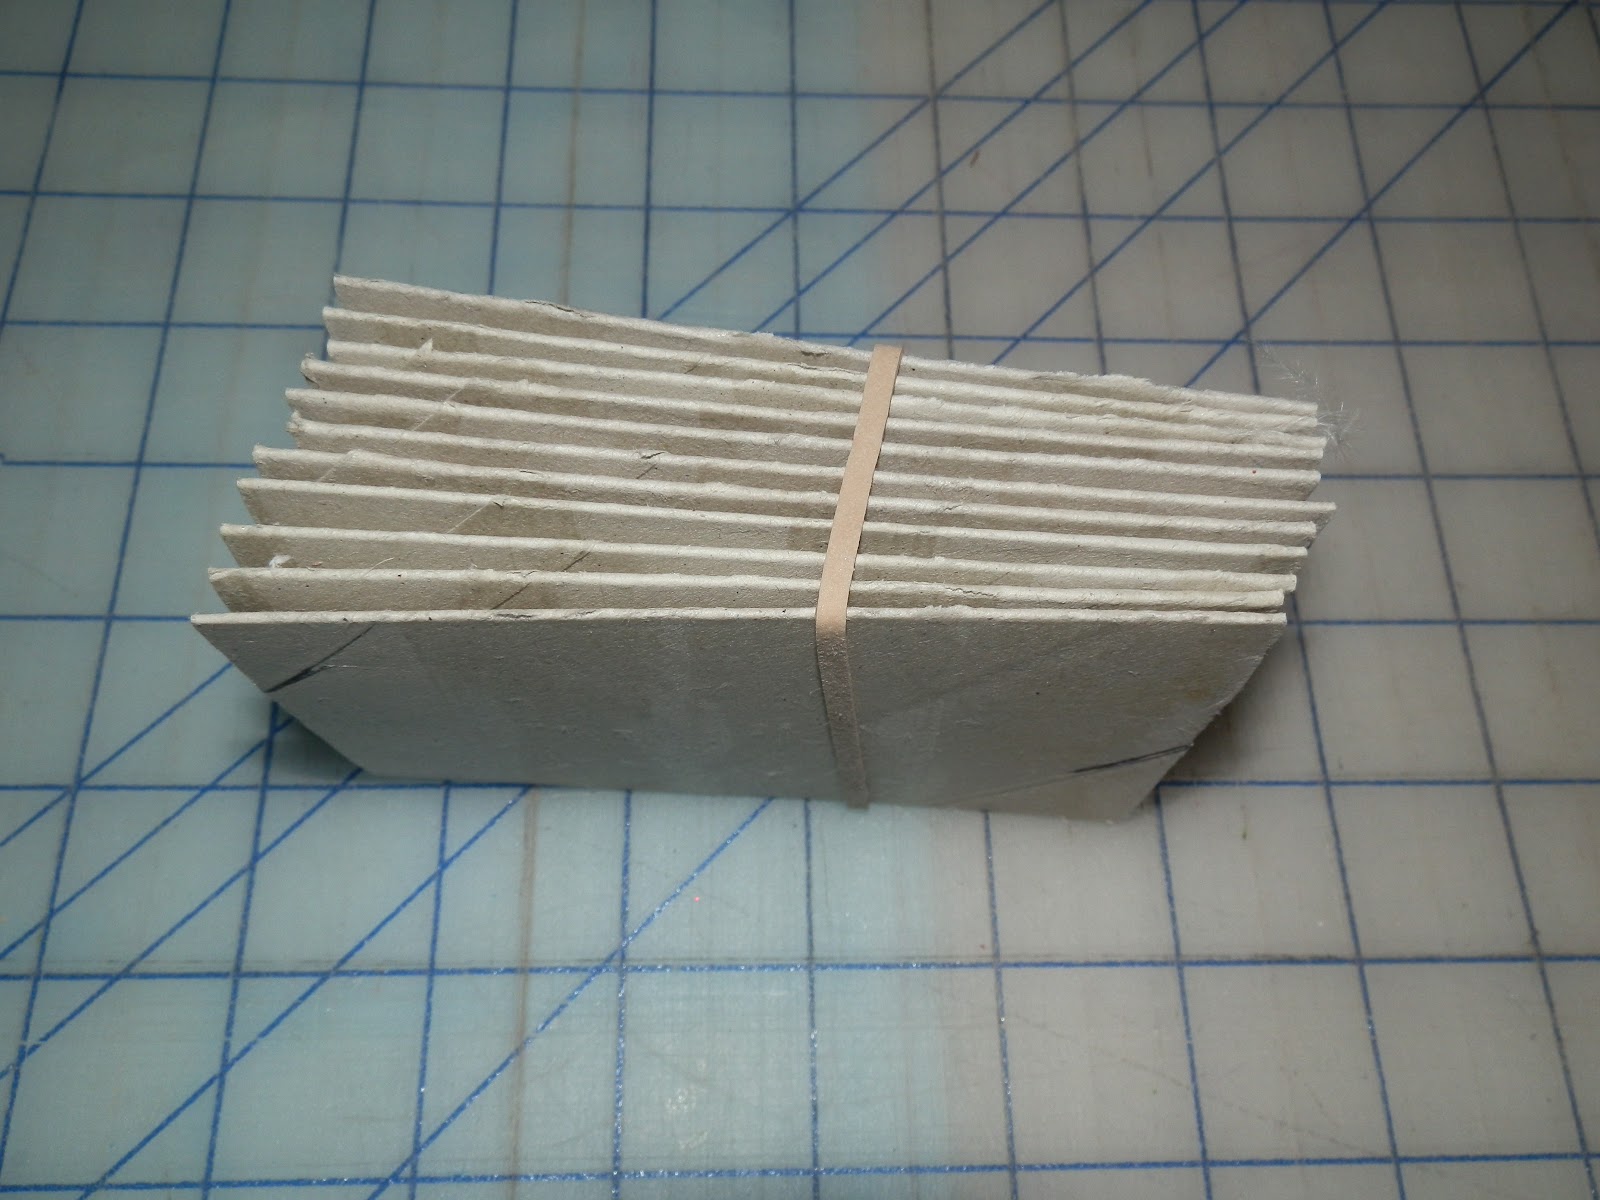
First, save the rolls from your toilet paper - brand doesn't matter.  The only thing required here is thinking ahead.  I've also used empty paper towel rolls and cut them to size.
Next, I use the first of two high tech gadgets for this project - an old (but cleaned before using on paper crafts) toothbrush!  Pick off as much of the big pieces, then gently brush off the remaining paper.

 Mark where the ends of the roll meets and make sure they aren't on the fold, gently press down.  I have arthritis in my hands and wrists pretty bad, so this is where I use my second high tech gadget ~ an old rolling pin to get a nice crease in the cardboard!


Well, it gives a nice crease, but I need for it to go from this (top) to this (bottom,) what's a scrapper to do?
We improvise!  Now, this is not the only time I use an iron - in fact, this is my craft iron and craft board!

Use a hot setting, but not on steam - NO WATER  on the paper and you will want to press hard and quickly because remember, this is paper!!  So press for a few seconds, pick up the iron, another few seconds until you have a nice flat pocket and no longer a tube.  "Why not go right from brushing off the paper to the ironing step?"  Great question!  There is 1 out of every 4 tubes that need a tad of glue on the inside and if you just go for the big squish and go from taking 4 minutes to 2 minutes (this is really very quick to do!) chances are you will end up with more that need gluing and it is so much easier to glue them before they are flat!  And, for gluing, I use an ever so tiny dab of glossy accents.  Use whatever you use, but only a very small amount, let dry and then move to the next steps.
 So ~ here we are ~ time to have fun!!
I usually have enough made up in advance to put pockets in cards when needed or make little scrap books.

 
Measure roll, mine are 4 1/4" x 6" by the time you roll it around.


I love my Xyron for this step or even spray adhesive, glue or tape ~ whatever you have and use. Roll the tube, carefully aligning the paper and the tube.  I use my high tech rolling pin again to make sure all of the air bubbles are out of the adhesive and it is on good and tight!

Before decorating, I  punch the holes in the tube.  If I'm making a TP Album, I use my Zutter Bind It All.  In a Book or card for a pocket, I would use my Crop A Dile or a hole punch.

This was my first tutorial!  I hope it made sense, and you are able to make your own pockets and Mini Albums!  I had a lot of fun!  Thanks so much for popping by!

Blessings,
Donna